A field BIM viewer is only as good as its position. Sitelink runs on datacenters, hospitals, life sciences facilities and infrastructure megaprojects, and for years it solved position with printed QR codes used as survey control, mounted by a field crew at points a VDC engineer picked in the model. It worked, and it cost a five-figure mobilization per floor.
In 2026 the platform added camera-only localization on MultiSet VPS as a second mode. Markers did not go away. Both are shipped, the rollout is phased, and every customer picks markers or markerless when setting up a project. On the projects that pick markerless, setup stops requiring anyone on site and coverage stops being a budget decision.
On a 100,000 sq ft floor at 10 ft spacing, marker-based control means 1,000 printed codes. At four minutes each that is 8.3 field crew days before anyone views a model, on top of 20 hours of VDC layout in the model. Priced at a blended survey rate, deployment lands at $15,700 per floor. One hospital job was scoped at a full week of installation.
The bill does not stop at deployment. Codes get painted over, covered by finishes, buried behind drywall and pulled off as trades move through. Every loss sends someone back to the original coordinates and back out to the floor.
The accuracy problem is the part usually left out. A marker gives a survey-grade pose at the marker and nowhere else. Phone tracking drifts as the user walks, with published scaling error running as high as 14.4 cm per metre, which is roughly a metre and a half of error inside the first 10 metres. For in-wall coordination that is already unusable.
The only recovery is to walk back to a code and re-scan it. That is why teams wallpaper sites with codes that do not help, and why field users quietly stop trusting the overlay. Holding accuracy required unnatural behaviour from people who just wanted to look at a wall.
Those costs compound into a coverage ceiling. Because setup scales with floor area, most projects deploy one showcase floor and leave the rest of the building dark.
Sitelink had already built its platform so localization providers plug in behind a common interface. MultiSet VPS went in against that interface and reached production in about a day of integration work, inside a SceneKit application rather than RealityKit. No rendering stack rewrite, no proprietary capture app, no hardware.
That architecture is why markerless shipped as a choice rather than a migration. Localization mode is a project-level setting: pick markerless, enter a map code, and the rest of the product behaves the same. Existing marker projects keep working untouched, which is what makes a phased rollout possible and lets a customer run one job each way before committing a portfolio.
| # | Step | Who | What happens |
|---|---|---|---|
| 1 | Supply a scan the job already produces | Project | E57 from a terrestrial or handheld scanner, or a 360 walk. No capture through a proprietary scanning app, so reality capture the project already paid for is reused as is. |
| 2 | Process into a VPS map | MultiSet | Ingest, build the localization map, return a map code. Nobody travels to the building for this step. |
| 3 | Align the BIM to the scan, once | Platform | Pull the map mesh over the REST API, align in ortho mode in the web app, save it to the project. Field users never touch alignment again. |
| 4 | Open the model on site | Field | Set localization to markerless, enter the map code, raise the camera. Pose resolves against the map. |
| 5 | Hold it while walking | Runtime | The device re-queries position against the map and corrects continuously, so the model stays anchored to the building instead of dead-reckoned from the last good pose. |
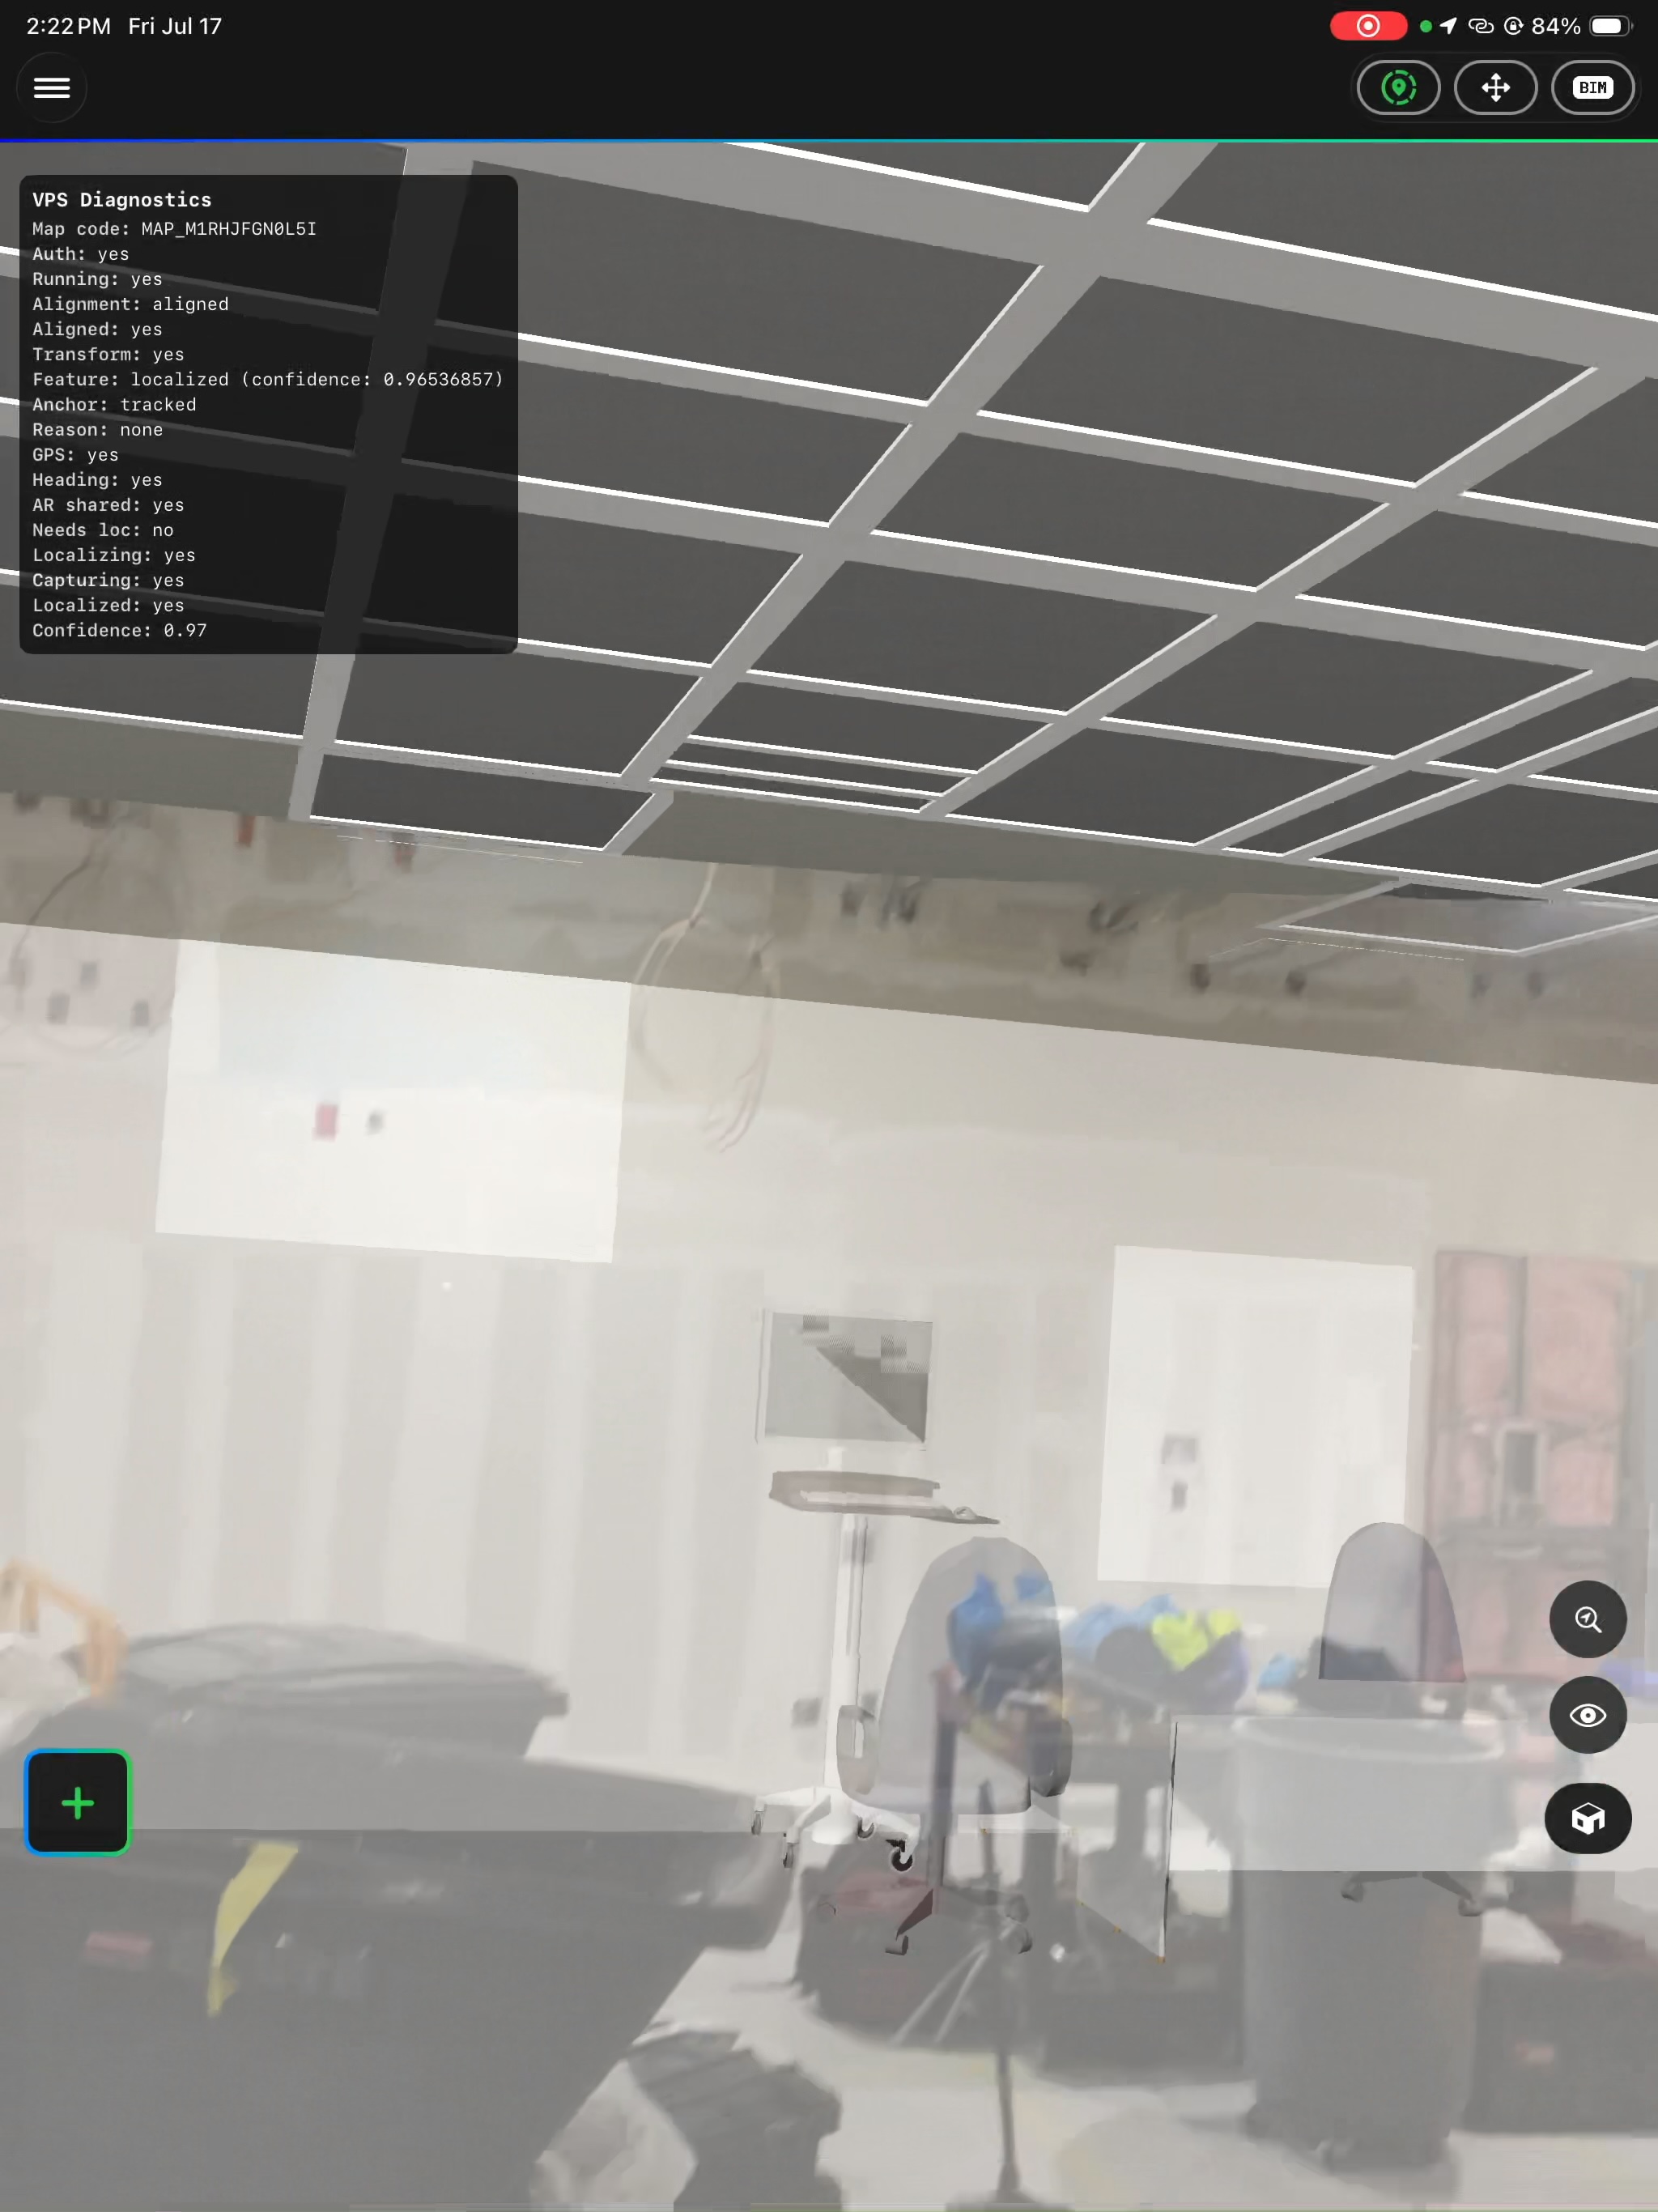
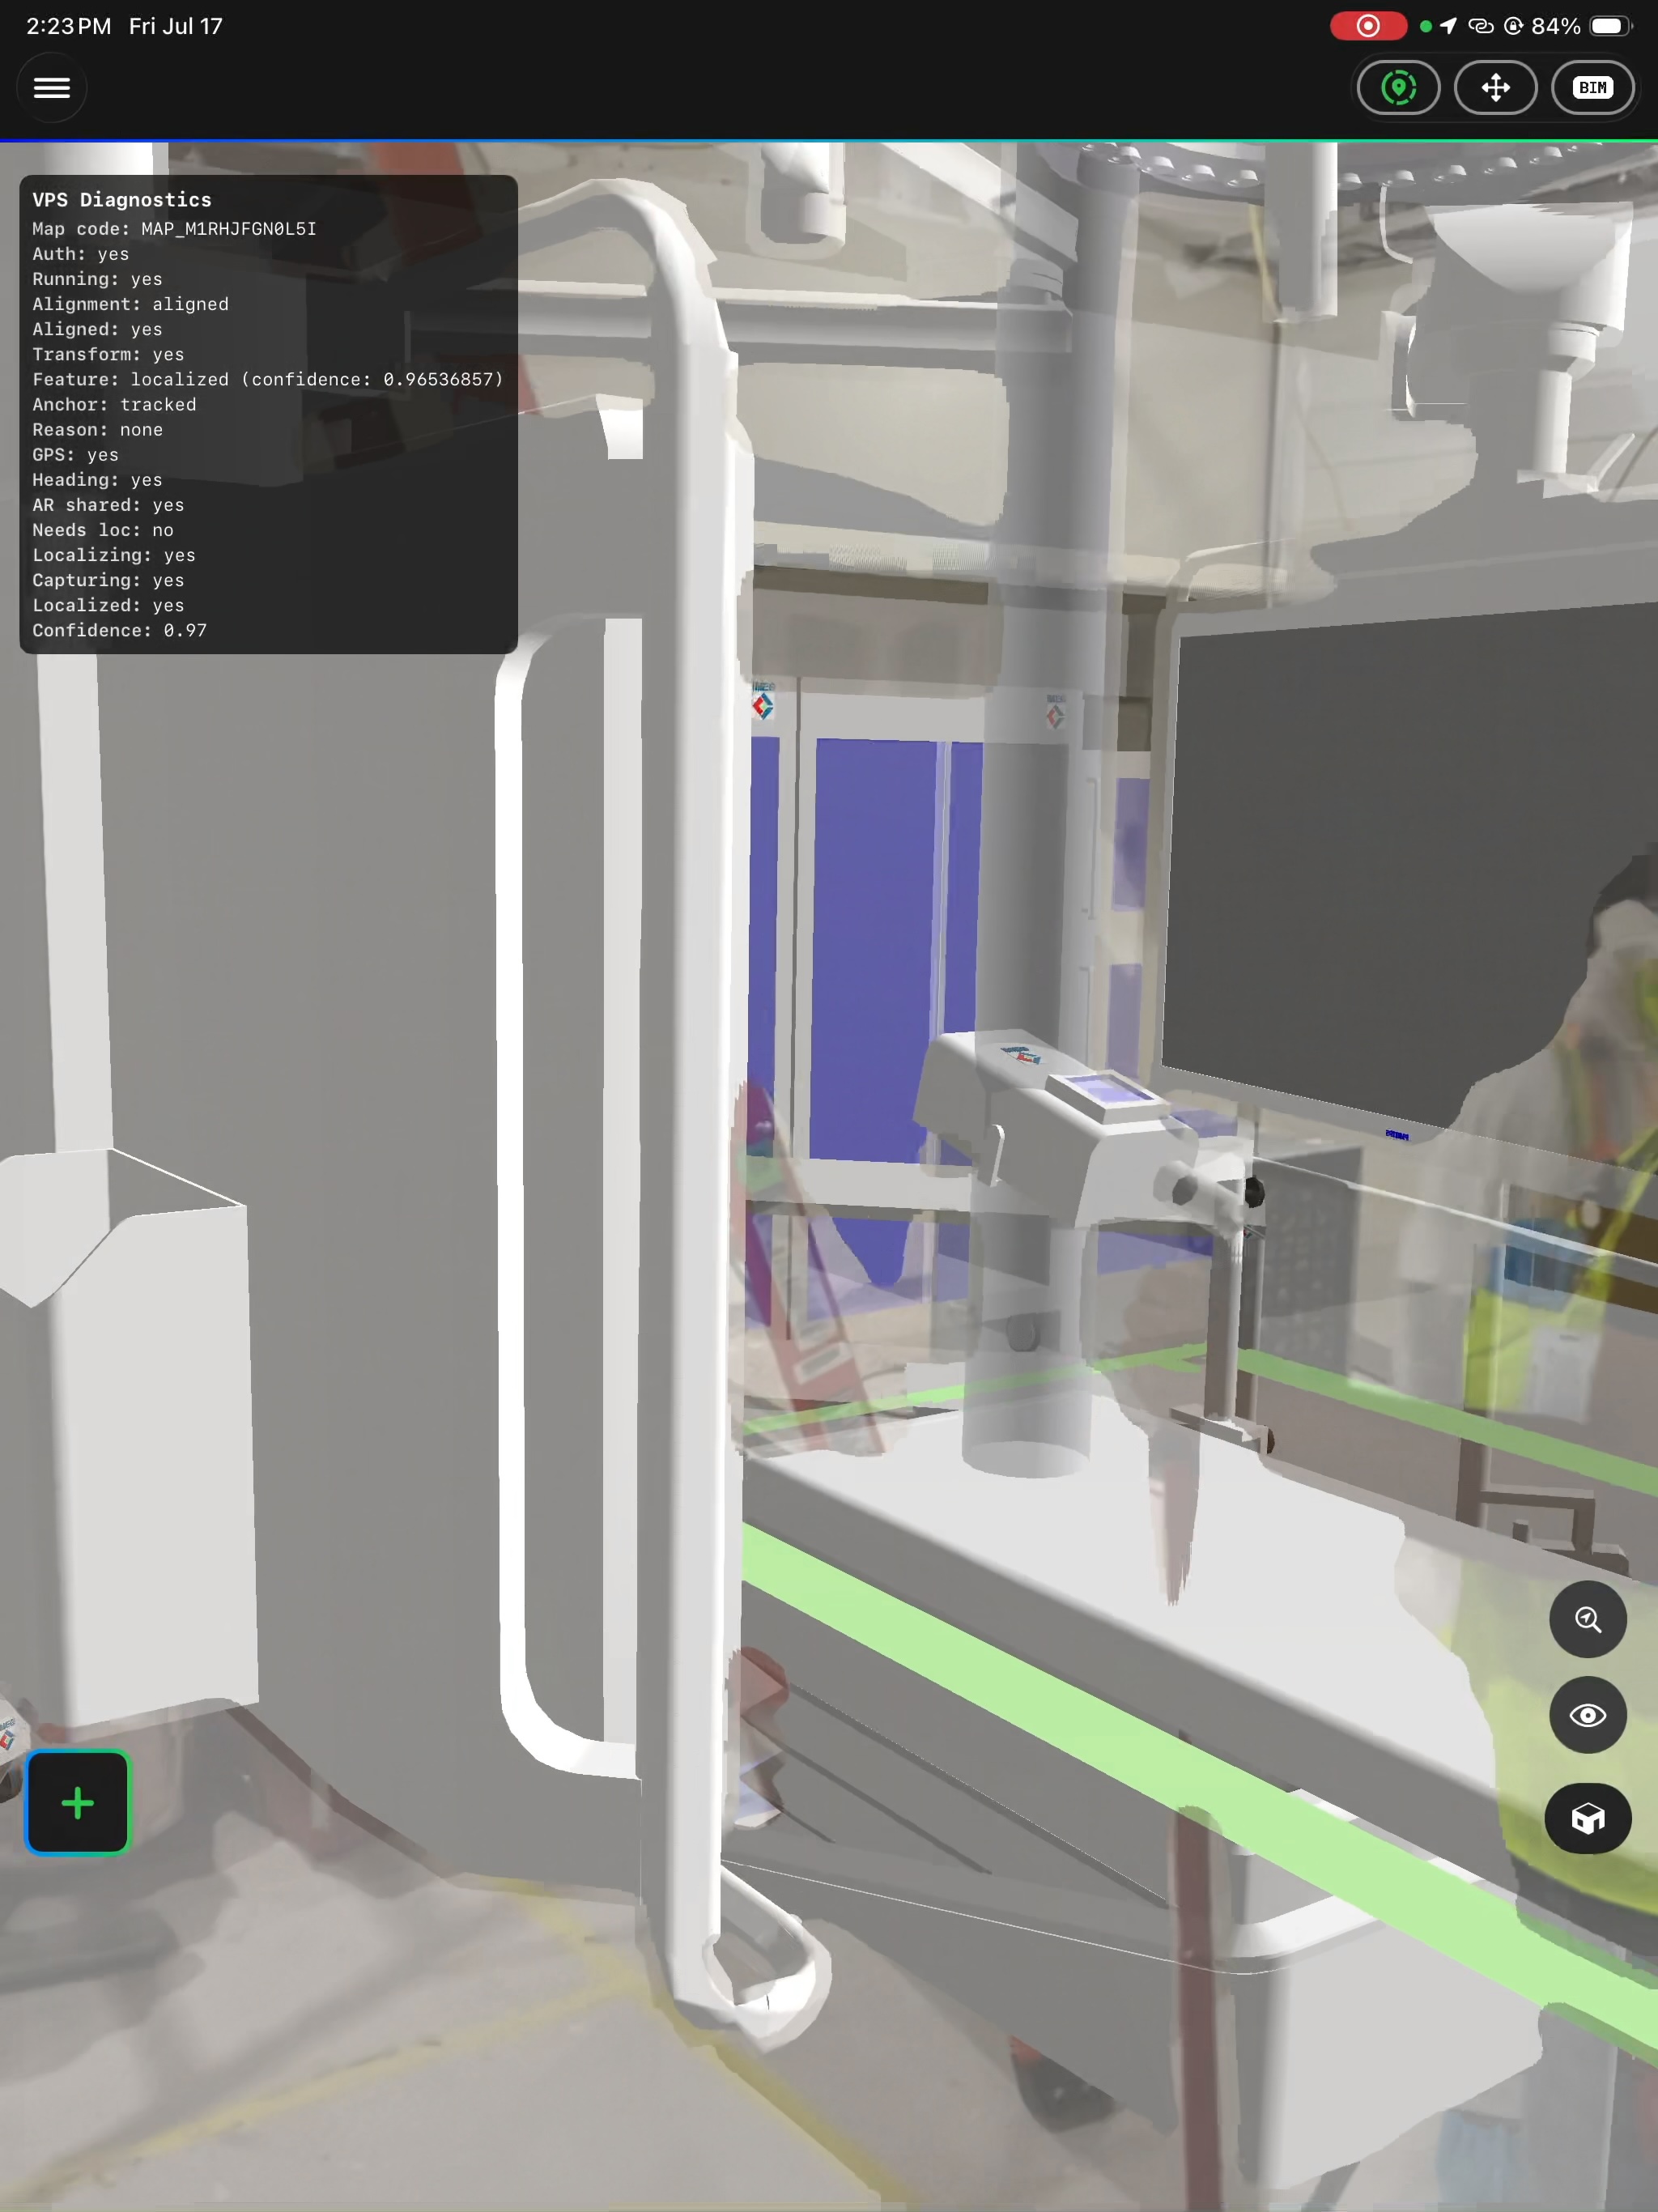
The hardest test on any job is a finished room, because a finished room no longer resembles the scan it was mapped from. Healthcare is where that gets extreme, since a hospital carries the highest MEP density of any building type. In July 2026 the platform ran a fourth-floor hybrid operating room with the fit-out essentially complete: surgical booms hung, ceiling lights installed, clean-suite grid in place, monitors mounted, equipment moved in.
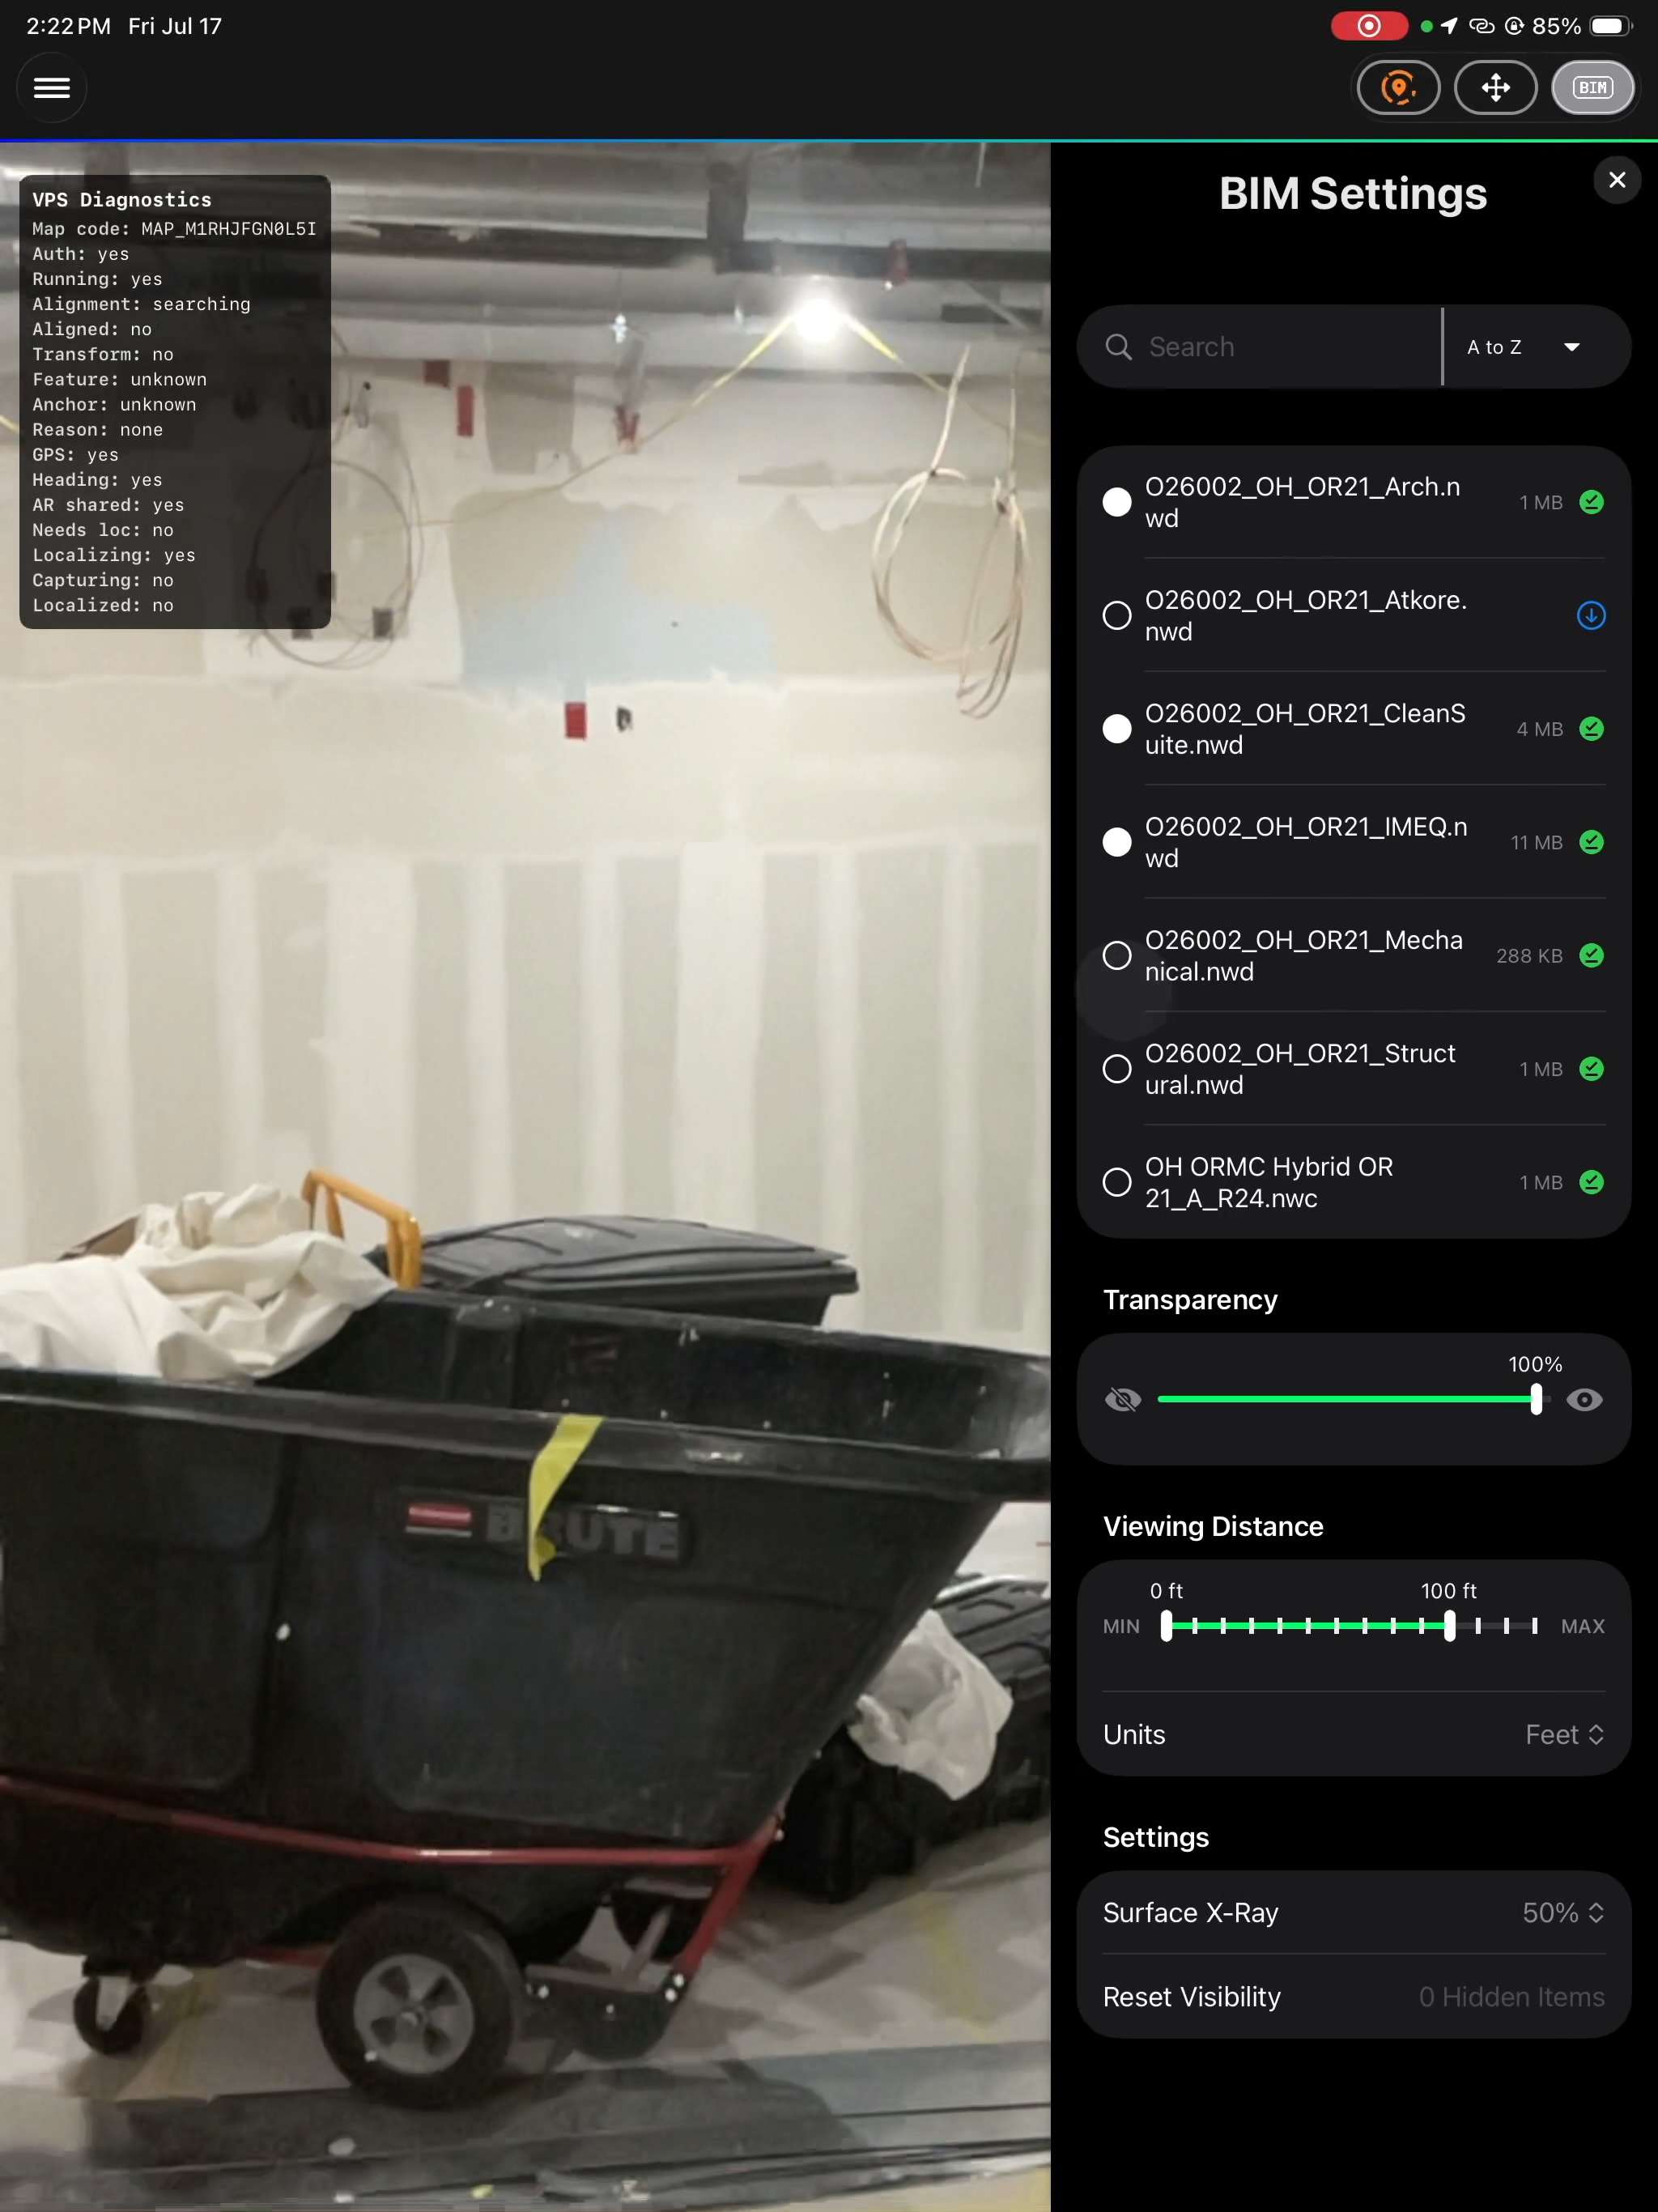
Seven discipline models loaded into a single session, covering architectural, structural, mechanical, in-wall conduit, medical equipment and the clean-suite ceiling. The user opened the AR view with the camera pointed at the floor, raised it into the room, and the pose resolved at 0.97 confidence. It held for the rest of the walkthrough with no re-anchoring and no manual correction, through ceiling inspection and movement around the booms.
The same room ran twice that day, once markerless and once on QR, as two projects on one device. Mode is a per-project setting, so a team can compare both against the same models before setting up the next hundred floors. On an earlier federal healthcare site, localization held against a map built before the MEP went in and floor equipment moved, from a capture that wasn't high quality.
| Per 100,000 sq ft floor | Marker mode | Markerless mode, MultiSet VPS |
|---|---|---|
| Markers installed | 1,000 | 0 |
| Field crew days | 8.3 | 0 |
| Deployment cost | $15,700 | $385 |
| Monthly upkeep | $2,100 | $0 |
| Time to first use | 2 to 3 weeks, gated by crew availability | Same day |
| Accuracy while walking | Decays from the marker, recovered by re-scanning a code | Corrected continuously against the map |
| Floors covered per project | 1, showcase | All |
Camera-only localization needs a map, and a map needs a scan. Where that scan comes from decides the economics, so it is worth stating plainly.
Most large projects already run reality capture, which makes the incremental cost an export and an upload, about $385 per floor. Localization consumes the registered point cloud only, not a modelled BIM deliverable, and modelling is roughly 70% of a reality capture budget, so there is no need to pay for the expensive tier.
Commissioning a professional scan purely to enable AR is the one case that does not pay back on day one. Registered point cloud work runs $0.20 to $0.70 per sq ft and lands near $0.30 at this scale, so about $30,000 for a floor. That breaks even against marker control at month seven, because markers keep billing $2,100 a month and a scan does not.
Where no scan exists, a $500 consumer 360 camera converts into a VPS map at roughly 1,000 sq ft per 60 seconds of walking. That is about 100 minutes for a 100,000 sq ft floor, done by one person, with no crew, no survey instrument and no marker layout. Under $600 a floor, and the same pass produces a viewable 3D asset alongside the machine-readable map.
Construction changes faster than any environment MultiSet serves, so the map is a document the project keeps editing. Map Set lets a new capture join an existing map on the same origin, so last month's steel and this month's ceiling stay one map with layers. Versioning archives the prior state without using a map slot, and two versions of a space become a measurement of how much changed, delivered over the REST API.
Related: field inspection and verification covers the general case behind this deployment: overlay the model on the real build, pin defects to a coordinate somebody can return to, and keep versioned anchors in step with weekly site change. For how this fits the wider sector, see visual positioning for construction.